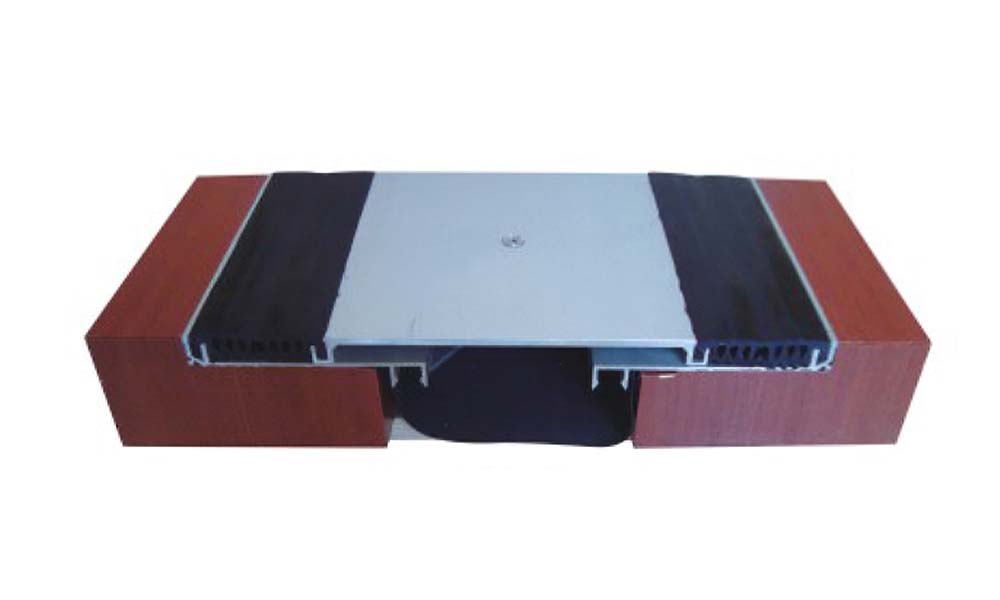
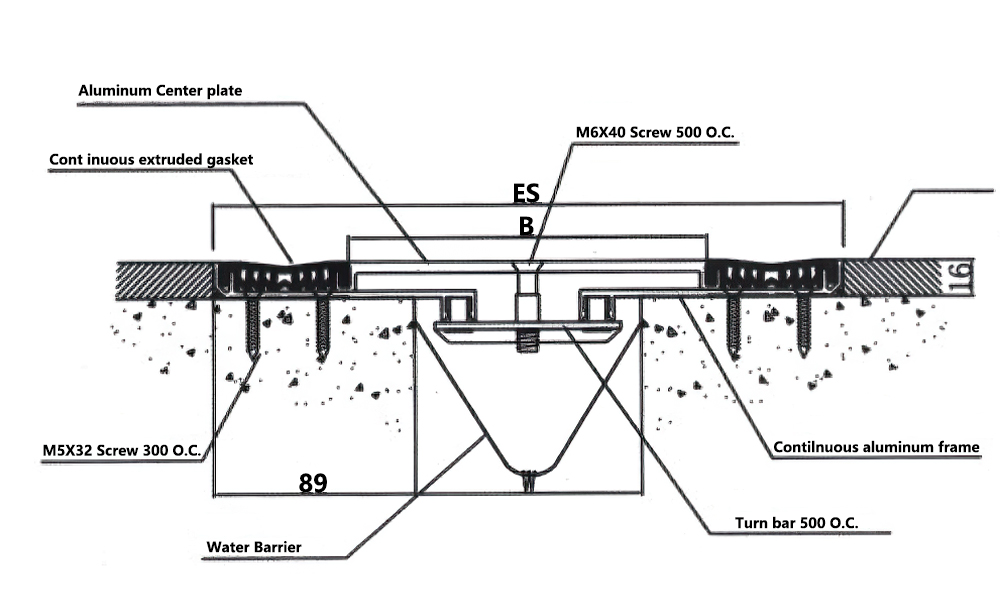
Materials and Tools Needed:
- Floor expansion joint cover kit
- Measuring tape
- Marker or chalk line
- Saw (if needed for cutting covers)
- Drill and drill bits
- Screws or fasteners (usually provided with the cover kit)
- Screwdriver
- Level
- Clean cloth
- Adhesive (if specified by the manufacturer)
- Safety gear (gloves, goggles)
Step-by-Step Installation Guide:

Step one: Preparation
- Clean the Area: Ensure the joint area is clean and free of debris, dust, or moisture. This will ensure better adhesion and a cleaner installation.
- Inspect the Joint: Check the joint for any damage or irregularities that might affect the installation. Repair any issues before proceeding.
Step two: Measure and Mark
- Measure the Joint Width: Accurately measure the width and length of the expansion joint.
- Mark the Placement: Use a marker or chalk line to mark the placement of the joint cover on the floor. This helps ensure straight and accurate alignment during installation.
Step three: Cutting (if necessary)
- Trim the Covers: If the joint covers are too long, use a saw to cut them to the required length. Follow the manufacturer’s guidelines for cutting to avoid damaging the material.
Step four: Dry Fit
- Position the Covers: Place the joint covers over the expansion joint to check for proper fit and alignment.
- Adjust as Needed:** Make any necessary adjustments before final installation.
Step five: Installation

- Drill Pilot Holes: If the joint cover kit requires screws, mark the locations for the screws on the floor and drill pilot holes to prevent the material from splitting.
- Apply Adhesive: If the manufacturer specifies adhesive, apply it to the bottom of the joint cover or the floor according to the instructions.
- Position and Secure: Place the joint cover in the marked position. Secure it with screws or fasteners provided in the kit. Ensure the cover is level and properly aligned.
- Tighten Screws: Use a screwdriver to tighten the screws, but be careful not to over-tighten as this can damage the cover.
Step six: Final Adjustments
- Check Alignment: Ensure the joint cover is properly aligned and level with the floor surface.
- Clean Up: Wipe off any excess adhesive and clean the area to remove any debris or residue from the installation process.
Tips for a Successful Installation:
- Follow Manufacturer Instructions: Always refer to the specific instructions provided by the manufacturer of your joint cover kit, as installation requirements can vary.
- Safety First: Wear appropriate safety gear, including gloves and goggles, to protect yourself during installation.
- Use Proper Tools: Ensure you have the right tools for the job to make the installation process smoother and more efficient.
By following these steps, you can successfully install floor expansion joint covers, ensuring they function correctly and provide a neat, finished look to your flooring.
